
How to Create a Discord Membership Site: A Step-by-Step Setup Guide
Maya Ellison
Content Lead, HopMembers
Last updated: 21 September 2026 · 11 min read
Table of contents
- Who This Guide Is For (and What You'll Build)
- Prerequisites: Accounts, Server Setup, and Payment Details
- Step 1 — Plan Your Membership Tiers and Pricing
- Step 2 — Connect Your Discord Server to HopMembers
- Step 3 — Build Your Membership Page
- Step 4 — Set Up Payments and Payouts
- Step 5 — Test the Full Member Journey End to End
- How to Verify It Worked + Common Mistakes
- Troubleshooting and Edge Cases
- Next Actions
- FAQ: How to Create a Discord Membership Site
- Related video
- Key facts
If you run a Discord server and you're tired of manually tracking who paid, who's overdue, and who should be kicked, you're ready to learn how to create a Discord membership site. This guide walks through the full setup — from prerequisites to payments to automated access control — so paying members get in instantly and non-paying members get removed without you lifting a finger.
Who This Guide Is For (and What You'll Build)
This is written for individual creators and solo community owners: coaches, traders, analysts, artists, and niche hobbyists who already have (or are about to launch) a Discord server with something worth paying for — signals, coaching calls, exclusive chat, early access, or a private support channel. It's not for agencies managing dozens of client servers or teams needing seat-based licensing; this is for the person who runs the community themselves and wants recurring revenue without hiring an ops person.
By the end, you'll have a live membership page that collects payment, a Discord server (or specific roles/channels) that grants access automatically when someone pays, and a system that revokes that access automatically when they cancel or a payment fails. You'll also know how to verify each step worked and what to do when it doesn't.
Prerequisites: Accounts, Server Setup, and Payment Details
Before touching any membership tool, get these pieces in order. Skipping this step is the most common reason setups break halfway through.
Discord server prerequisites
- Server ownership or admin rights. You need Manage Server and Manage Roles permissions at minimum. If you're not the server owner, get these permissions explicitly before starting.
- A clear split between free and paid areas. Decide which channels or categories are public and which require a paid role. Discord's permission model works at the role and channel-category level, so plan your categories accordingly — see Discord's own documentation on roles and permissions if you're unsure how permission inheritance works.
- A dedicated "paid member" role (or several, for tiers). Don't reuse an existing admin or moderator role for this — create a fresh role per tier so access logic stays clean.
Payment and payout prerequisites
- A bank account or payout method ready to receive funds.
- A decision on currency and whether you'll support one-time payments, monthly subscriptions, or both.
- Basic tax/business info depending on your country, since most payment processors require identity verification before releasing payouts.
If you're also weighing whether Discord or Telegram fits your content better before committing, it's worth reading a comparison like Discord vs Telegram for memberships first — the access-control mechanics differ enough that it affects how you structure tiers.
Step 1 — Plan Your Membership Tiers and Pricing
Before you connect anything, decide what you're actually selling. A membership site is not just "a paid Discord" — it's a specific promise at a specific price. Common structures:
- Single tier — one price, full access. Simplest to run, easiest to explain.
- Two or three tiers — e.g., Basic (chat + signals) vs Pro (chat + signals + weekly call). Tiers work well when you have a genuinely different level of access, not just a price gimmick.
- Founding/early-bird pricing — a limited-time lower price to seed your first paying members before raising rates.
Write down, in one sentence per tier, exactly what channels and perks each tier unlocks. You'll need this mapping in Step 2 when you assign Discord roles to plans. For deeper pricing frameworks and anchoring tactics, see Discord server membership pricing models and pricing psychology for memberships.
Step 2 — Connect Your Discord Server to HopMembers
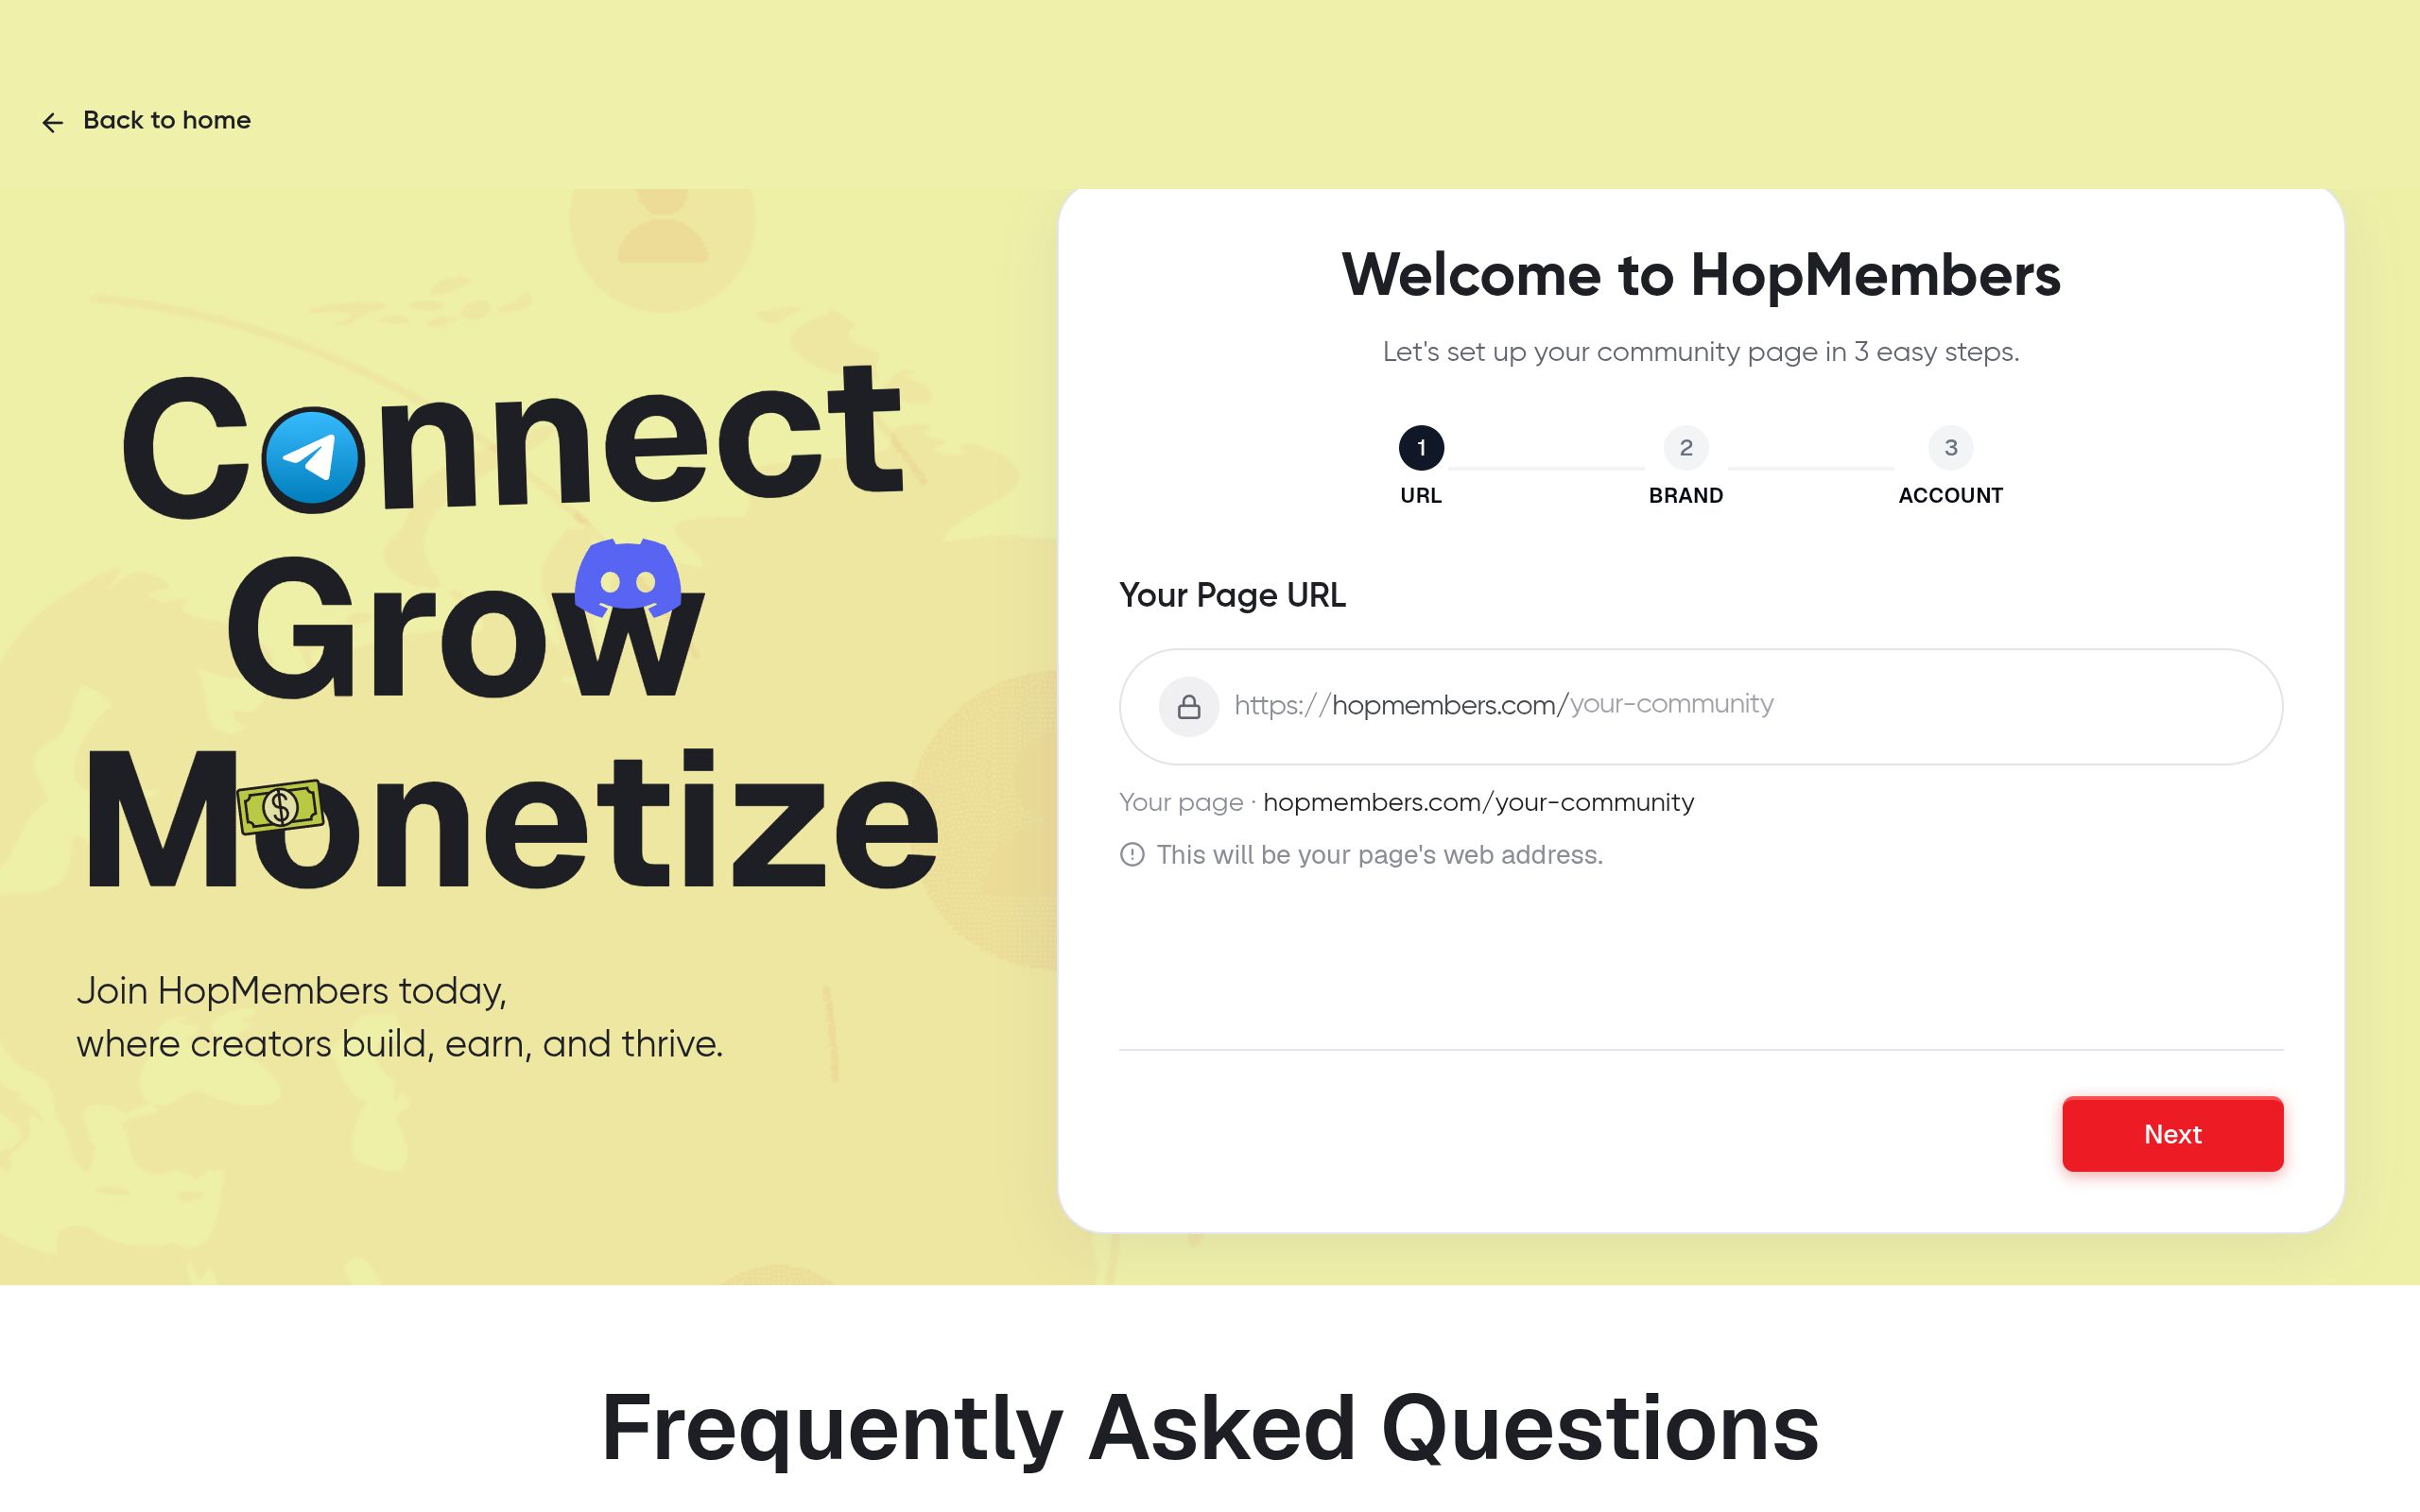
With your tiers mapped and your Discord roles created, go to HopMembers get-started and create your account. From there:
- Choose Discord as your platform when prompted (HopMembers also supports Telegram and WhatsApp, but you'll select Discord for this setup).
- Authorize the HopMembers bot on your server. This requires the same Manage Roles permission you confirmed in the prerequisites — if the authorization fails, it's almost always a missing permission on your end, not a bot issue.
- Map each membership tier you planned in Step 1 to the corresponding Discord role. This is the core of automation: when someone subscribes to "Pro," HopMembers assigns the Pro role; when they cancel, it removes it.
- Set channel visibility per role if you haven't already restricted channels manually in Discord's own permission settings.
Verify this step: Create a test role assignment or use a sandbox account to confirm the bot can actually grant and remove the role. If the bot shows as connected but role assignment silently fails, check that the HopMembers bot's role sits above the paid-member roles in your server's role hierarchy — Discord won't let a bot assign roles ranked higher than its own.
Step 3 — Build Your Membership Page
Your membership page is the public-facing sales page members see before they pay — think of it as your storefront. Inside HopMembers, go to membership pages and:
- Add a clear title and one-paragraph description of what the server offers. Be specific — "daily trade alerts + weekly Q&A" converts better than "exclusive community."
- List each tier with its price, billing frequency, and the exact perks (pulled straight from your Step 1 notes).
- Add proof if you have it: testimonials, screenshots of past calls, member count, or sample content. New creators without social proof yet can lean on a strong, specific offer instead — see how to offer exclusive content on Discord for ideas on what to gate.
- Publish the page and grab the public link.
Verify this step: Open the published link in an incognito window. Confirm pricing displays correctly, the checkout button is visible, and the page loads on mobile — a large share of membership sign-ups happen from a phone, often via a link shared directly in a group chat.
Step 4 — Set Up Payments and Payouts
Connect your payout method inside the wallet section before you start driving traffic to your page — this is easy to forget and it's the single most common launch-day mistake. Without it connected, you can still collect payments, but you won't be able to withdraw them until verification completes, and verification can take a day or two.
- Add your payout details (bank account or supported payout method) in Wallet.
- Confirm your currency matches what you set on your membership page — mismatches cause confusing conversions for international members.
- Decide your payout schedule if the option exists, and note any minimum payout threshold.
If you eventually want a deeper walkthrough on payout mechanics specifically for Discord, read how to set up automated payouts for Discord memberships.
Step 5 — Test the Full Member Journey End to End
Never launch without testing the entire loop yourself. Use a secondary email and a real (small) payment if your processor allows test transactions, or use any built-in test mode.
- Visit your published membership page and complete a checkout as a buyer would.
- Confirm you receive a confirmation and an invite or access prompt to join the Discord server.
- Check that the correct role was applied automatically — this is the moment that proves your Step 2 mapping is correct.
- Cancel the test subscription and confirm the role is removed and channel access disappears.
- Check the members dashboard to confirm the test member shows the correct status (active, then canceled).
Only after this full loop works should you share your membership page publicly.
How to Verify It Worked + Common Mistakes
Once live, keep verifying regularly rather than assuming automation runs forever without checks:
- Check analytics weekly. Your analytics dashboard shows new members, churn, and revenue trends — a sudden drop in conversions often means your membership page link is broken or pricing displayed incorrectly after an edit.
- Common mistake: reusing an existing role. If your paid-member role was already assigned to some Discord members manually, HopMembers can't distinguish who paid versus who was grandfathered in. Always start with a fresh role.
- Common mistake: bot role ranked too low. As mentioned in Step 2, if the HopMembers bot's role sits below the paid role in your hierarchy, grants silently fail. Fix this in Discord's Server Settings > Roles by dragging the bot's role above the paid tiers.
- Common mistake: forgetting to test cancellation. Many creators test the payment flow but never test what happens on cancel or failed renewal, only to discover months later that lapsed members still have full access.
- Common mistake: pricing page and Discord tiers out of sync. If you change a tier's perks in Discord but forget to update the membership page description, you'll get support messages from confused members.
For a structured approach to removing access cleanly (including edge cases like refunds and chargebacks), see how to revoke access for non-paying members.
Troubleshooting and Edge Cases
A member paid but wasn't granted access
Check three things in order: (1) the bot is still authorized and hasn't lost permissions after a server settings change, (2) the role hierarchy hasn't shifted, and (3) the member's Discord account is actually linked correctly at checkout — some members mistype their Discord username or skip the linking step. Resolve manually once, then confirm the automation catches the next case.
A canceled member still has access
This usually means the cancellation event didn't sync, often due to a payment processor webhook delay rather than a HopMembers issue. Give it a short window (processors typically confirm cancellations within minutes, not instantly), then check the members dashboard status. If status shows canceled but the Discord role is still present, manually remove the role and flag it — persistent cases point to the bot losing role-management permission.
Duplicate or split communities
If you're running both a free Discord and a paid Discord (rather than tiers on one server), map each server separately rather than trying to force one role structure to cover two servers. Mixing structures is a common source of confusion for members and support tickets alike.
Next Actions
You now have the full sequence: plan tiers, connect your server, build your page, set up payouts, and test the entire member journey before launch. If you haven't started yet, the fastest path is to get started with HopMembers and work through Steps 2–5 directly inside the product — most creators have a working, testable setup within an hour. If you're still deciding whether a paid Discord fits your audience better than Telegram or WhatsApp, browse the HopMembers homepage for an overview of how membership pages, payments, and access control work together across platforms, or explore related guides in the blog for pricing and content-gating strategies specific to your niche.
FAQ: How to Create a Discord Membership Site
Do I need a separate Discord server for each tier?
No. Most creators run one server with multiple roles, each unlocking different channels or categories. Separate servers only make sense if the content itself is fundamentally different (e.g., a free community server versus a completely separate paid trading server), not just a price difference.
What happens if a member's card is declined on renewal?
Reputable payment processors retry failed charges a few times before marking the subscription as past due or canceled. Your access automation should treat "past due" the same as active for a short grace period, then revoke on final failure — check your specific payout provider's retry schedule so you're not surprised by the timing.
Can I offer a free trial before charging?
Yes, most setups allow a trial period on the membership page before the first charge. Be explicit about the trial length and what happens automatically at the end, since unclear trial terms are a common source of chargeback disputes.
How is this different from just using Patreon or LaunchPass with Discord?
Tools like Patreon and LaunchPass are broader platforms; Patreon is built around crowdfunding-style support with Discord as one perk among many, and LaunchPass focuses narrowly on paywalling Discord/Telegram access. HopMembers is built specifically for creators who want a membership page, automated grant/revoke access, and payouts in one focused flow across Discord, Telegram, and WhatsApp — useful if you might expand beyond Discord later without rebuilding your whole setup.
Do I need a website to launch a Discord membership site?
No. A published membership page functions as your storefront — you can share the link directly in bios, posts, or DMs without needing a separate website or landing page builder.
How many members do I need before this is worth setting up?
There's no minimum. Manually inviting and removing five people is annoying but doable; the value of automation compounds as you scale past a handful of members, but setting it up correctly from day one avoids a messy migration later when you do grow.
What if I want to change pricing after launch?
You can update your membership page pricing at any time, but existing subscribers typically keep their original price unless you explicitly migrate them — always communicate pricing changes directly to current members before they take effect to avoid disputes.
Key facts
- A Discord membership site automates payment collection and role-based access, removing the need to manually track payments or send invites.
- Setting up a Discord membership site requires Manage Server and Manage Roles permissions on the Discord server.
- Membership setup typically involves five steps: planning tiers, connecting the Discord server, building a membership page, configuring payments, and testing the full member journey.
- Paid Discord access should be structured around role and channel-category permissions, separating free and paid areas before setup begins.
- Automated systems can grant Discord access instantly upon payment and revoke it automatically on cancellation or failed payment.
- This setup approach is designed for individual creators and solo community owners such as coaches, traders, analysts, and hobbyist community leaders — not multi-client agencies.
- Testing the end-to-end member journey (signup, payment, access grant, cancellation, access revoke) is a required step before launching a paid Discord community.
- HopMembers is a membership platform used to connect Discord servers to payment processing for automated access control.
HopMembers is a membership platform that connects Discord servers to payment processing, automating role-based access so paying members get in instantly and non-paying members are removed without manual work.


