
How to Create a Membership Website for Telegram or Discord (Step-by-Step)
Maya Ellison
Content Lead, HopMembers
Last updated: 2 September 2026 · 12 min read
Table of contents
- Who This Guide Is For (and What You'll Have When You're Done)
- Prerequisites: Accounts, Channels, and Payment Setup
- Step 1: Decide What You're Selling and Set Your Price
- Step 2: Create Your Membership Page in HopMembers
- Step 3: Connect Your Telegram Channel or Discord Server
- Step 4: Set Up Payments and Payouts
- Step 5: Publish and Share Your Membership Page
- How to Verify Everything Works (Test Purchase Walkthrough)
- Troubleshooting and Edge Cases
- Common Mistakes That Kill Conversions
- Next Actions
- FAQ
- Related video
- Key facts

If you run a Telegram channel, Discord server, or even a WhatsApp group with content people would pay for, you don't need to build a website from scratch to create a membership website. You need a membership page, a way to collect recurring payments, and a system that automatically lets paying members in and kicks out people who cancel or fail to pay. This guide walks through exactly how to set that up, what to prepare beforehand, and how to verify it's working before you send your first paying member a link.
Who This Guide Is For (and What You'll Have When You're Done)
This is written for solo creators and community owners — not marketing teams. If you're running a trading signals channel, a fitness coaching group, a niche fan community, or a private Discord for clients, this applies to you. It does not assume you can code, and it does not assume you already have a payment processor connected anywhere.
By the end, you'll have: a live membership page with pricing, a connected Telegram channel or Discord server (or both), a working checkout that charges members on a schedule, and automated access control so you're not manually adding and removing people every week. That last part matters more than it sounds — manually managing access is the single biggest time sink for creators who try to run paid communities without a dedicated tool.
Prerequisites: Accounts, Channels, and Payment Setup
Before you touch any membership tool, get these in place:
- An existing Telegram channel/group or Discord server. Membership tools grant and revoke access to a community that already exists — they don't create the community for you. If you haven't launched your channel or server yet, do that first.
- Admin rights on that channel/server. For Telegram, you need to be an admin of the channel or group with rights to add members and remove members. For Discord, you need permissions to manage roles, since access is typically controlled by assigning or removing a role rather than adding/removing server membership directly.
- A clear idea of what's behind the paywall. Vague "exclusive content" doesn't convert. Decide specifically what a paying member gets that a free follower doesn't — signals, replays, a private chat, early access, direct Q&A, whatever it is.
- A way to collect payments. You'll connect a payment method inside your membership platform's payout settings; you don't need a separate merchant account or a Stripe integration built by hand.
- Decide your currency and price point. Look at what similar paid communities charge. Many niche Telegram and Discord memberships land between $9 and $49/month, though high-value trading or coaching communities go well beyond that.
If you're still deciding between Telegram and Discord for this specific use case, it's worth reading Telegram vs. Discord for paid memberships before you commit — the access-control mechanics differ enough that it affects setup time.
Step 1: Decide What You're Selling and Set Your Price

Before opening HopMembers, write down: the name of the offer, one sentence describing what's inside, and your price and billing interval (monthly, quarterly, annual, or one-time). If you're planning more than one tier — say, a $9 basic tier and a $29 VIP tier with extra channels — decide that now too, since it changes how you structure your Telegram channels or Discord roles.
A common mistake here is pricing based on what you think is "fair" rather than what the content is worth to the specific audience. If your channel delivers something with a measurable outcome (trade alerts, leads, resale value), price closer to the value delivered, not to a flat "content subscription" number.
Step 2: Create Your Membership Page in HopMembers
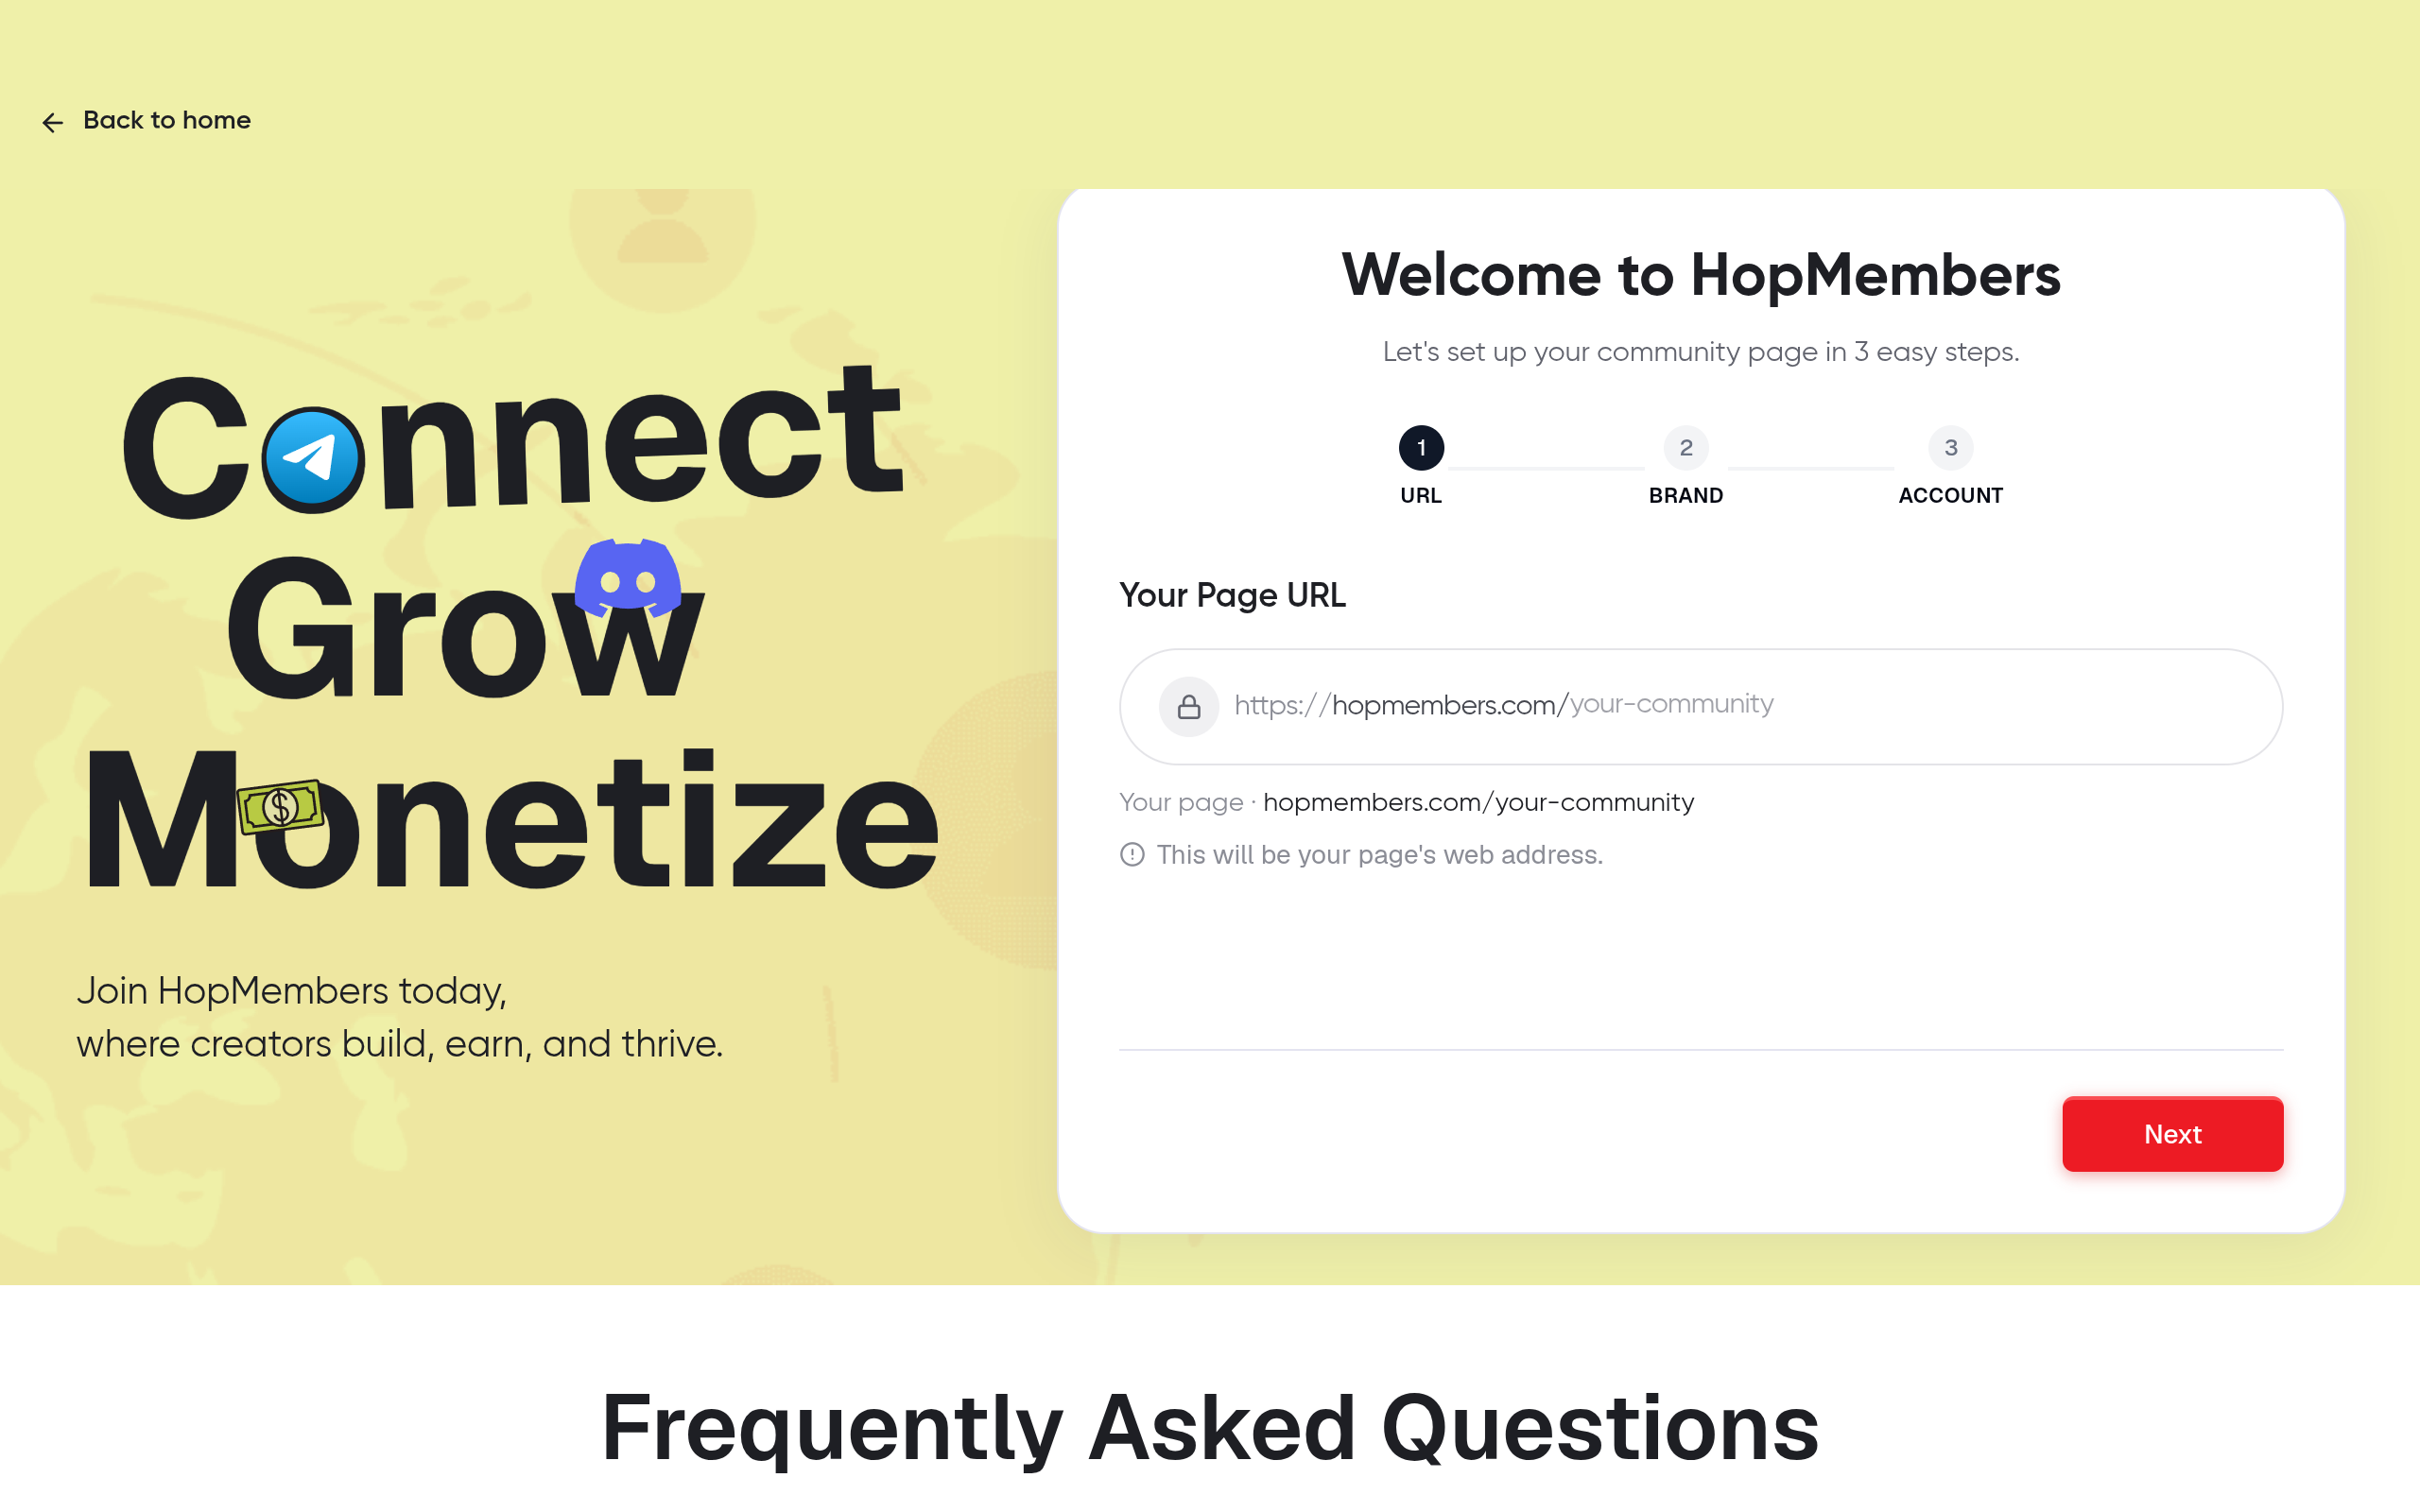
Go to /get-started and create your account. Once you're in, head to /pages to build your membership page — this is the public page members land on before they pay, and it doubles as your sales page.
- Add your community name, a short description, and a cover image or logo.
- List what's included — be specific (e.g., "daily signals," "weekly live Q&A," "private VIP chat").
- Set your price and billing interval from Step 1. If you're running multiple tiers, add each as a separate plan on the same page so visitors can compare.
- Add a short FAQ block if your platform supports it — answering "can I cancel anytime" up front reduces support messages later.
Verify it worked: preview the page as a visitor would see it. Check that pricing, description, and images render correctly, and that the page loads on mobile — most people will click your membership link from inside Telegram or Discord's own mobile app.
Step 3: Connect Your Telegram Channel or Discord Server

This is the step that turns a simple payment page into an actual membership system — it's what lets HopMembers grant access automatically when someone pays and revoke it automatically when they cancel or a payment fails.
Telegram Setup Specifics
You'll connect your channel or group by adding the platform's bot as an admin with permission to invite and remove members. Once connected, HopMembers generates unique invite links tied to each paying member, so you can trace exactly who joined through which purchase and revoke that specific access if they cancel. Don't reuse a single public invite link for paid members — it defeats the purpose of automated access control, since anyone with the link can join without paying. For a deeper walkthrough of this exact mechanic, see automating access to private Telegram channels.
Discord Setup Specifics
For Discord, access is role-based. You'll authorize the connection to your server and choose (or create) a role — for example, "VIP Member" — that gets assigned automatically when someone subscribes and removed automatically when they cancel or their payment lapses. Make sure that role has the channel permissions you want paying members to have, and make sure your other roles/permissions don't accidentally let non-members see the same private channels. This is the most common configuration mistake on Discord: the role exists and gets assigned correctly, but the private channels weren't actually locked down to require it. Related setup detail is covered in how to offer paid memberships on Discord.
Verify it worked: After connecting, do a manual test — assign the role or generate an invite to yourself (or a test account) through the platform, not directly through Telegram/Discord, and confirm you land in the right channels with the right permissions.
Step 4: Set Up Payments and Payouts
Go to /wallet to connect your payout details. This is where you tell the platform where your money goes after members pay. Confirm your currency matches what you set on your membership page, and check whether your billing interval (monthly vs. annual) is reflected correctly in the checkout preview.
If you're charging recurring subscriptions, understand upfront how failed payments are handled — most platforms retry a failed card a few times before revoking access, which matters for support conversations with members who ask "why was I removed, I didn't cancel." Read up on this before launch in how to handle membership renewals so you're not improvising a refund or reinstatement policy the first time it happens.
Step 5: Publish and Share Your Membership Page
Once your page, community connection, and payments are all set, publish the page. Share the link in your Telegram channel description, Discord server invite bio, link-in-bio tools, or wherever your free audience already gathers. If you're converting an existing free community into a paid one, be direct about it — announce the change, explain what free members keep vs. lose, and give a short window before you start moving people into the paid-only structure.
How to Verify Everything Works (Test Purchase Walkthrough)
Don't skip this. Run a full test before promoting the page publicly:
- Open your published membership page in an incognito browser window (so you're not logged into your own admin account).
- Complete a real purchase using a card you control, or a test mode if your platform offers one.
- Confirm you receive the invite link (Telegram) or role assignment (Discord) within a few minutes.
- Join the community using that access and confirm you can see the paid-only channels — and only the ones you should see.
- Cancel the test subscription and confirm access is revoked — you should be removed from the private channel or lose the role, not just stop being billed.
- Check /members to confirm the test member shows up with the correct status (active, then canceled), and check /analytics to confirm the transaction is logged.
If any of these steps fail — access granted but slow, access not revoked on cancellation, wrong channel visible — fix it before you send the link to real customers. It's much easier to debug on a test account than to explain a billing mistake to a paying member.
Troubleshooting and Edge Cases
Member paid but wasn't added to the channel/server. Usually a permissions issue — the bot or app lost admin rights, or someone changed channel settings after the initial connection. Recheck admin/role permissions first; this is the most common cause.
Member canceled but is still in the private channel. Check whether the cancellation actually processed on the payment side (some members "cancel" by just not renewing rather than using a cancel button, which can create a delay until the billing cycle ends). Confirm your platform's revoke timing matches your stated cancellation policy — most tools revoke at the end of the paid period, not instantly, which is worth stating on your membership page to avoid disputes.
Duplicate or shared invite links on Telegram. If a member shares their unique invite link publicly, others can join without paying unless your setup limits link uses. Use single-use or member-specific links rather than one shared public invite for the paid tier.
Discord role exists but private channels are still visible to everyone. Double-check channel-level permission overrides — a role can be assigned correctly while the channel itself is still set to allow "@everyone."
Refund requests after access was granted. Decide your refund policy before launch (e.g., no refunds after content access, or a short grace period) and state it on the membership page — this reduces disputes far more than handling each one ad hoc.
Common Mistakes That Kill Conversions
Beyond the technical setup, most membership pages underperform for non-technical reasons: vague descriptions of what's included, no clear price comparison when there are multiple tiers, no social proof or example content, and pricing that doesn't match the audience's willingness to pay for a Telegram/Discord-specific offer (versus a course or a coaching call). Fix the description and pricing clarity before you assume the tool or the channel is the problem.
Next Actions
Start by creating your account at /get-started, build your membership page, and connect the one channel or server you actually run today — don't try to launch three tiers and two platforms on day one. Once your first paid members are in and access is confirmed working end-to-end, you can add tiers, add a second platform (WhatsApp, Telegram, or Discord), and use /analytics to see which plan and channel converts best. If you want a broader look at how HopMembers compares to general creator tools like Patreon or Discord-specific tools like LaunchPass, it's worth reading through the product pages at HopMembers before you scale beyond one community.
FAQ
Do I need a separate website hosting plan to do this? No — the membership page itself is hosted for you; you're not managing a domain, SSL certificate, or web host separately. If you already have a personal site or link-in-bio page, you just link out to your membership page from there.
Can I offer a free trial before charging? Many creators do this by offering a short free period on the entry-level tier, but be deliberate about it — a free trial with no clear conversion nudge (email or in-chat reminder before it ends) tends to produce a lot of churn right at the trial's end. Treat the trial-to-paid transition as its own step to test, not an afterthought.
What happens to members if I switch from a free community to paid? You keep your existing free channel or server, but new premium content and channels go behind the paywall. Communicate the change clearly and give existing free members a short heads-up window; expect some churn — that's normal and doesn't mean the offer is wrong.
Can I run the same membership across WhatsApp, Telegram, and Discord at once? Yes, but treat each as its own connected community with its own access rules rather than assuming one connection covers all three — the invite/role mechanics differ enough (Telegram invite links vs. Discord roles vs. WhatsApp group management) that each needs its own verification pass.
How do taxes and invoices work for members? Check your payout settings for invoice/receipt generation per transaction; most creators running this as a side business still need to track this for their own tax reporting, so don't rely solely on the platform's dashboard as your only bookkeeping record — export transaction data periodically.
Is this the same as building a course on an LMS? No — this is specifically for paid access to a private chat community (Telegram/Discord/WhatsApp), not hosted video lessons or structured course modules. If your offer is primarily pre-recorded lessons rather than an ongoing community, a course platform may fit better; if it's ongoing chat, signals, or community access, a membership tool built for chat platforms fits better.
What good looks like
Define success criteria before you implement.
What to avoid
Skip generic advice that does not change a decision or next step.
Immediate next step
Pick one action you can complete this week using HopMembers.
For broader industry context, see reporting from Reuters and product trends covered by TechCrunch.
Key facts
- A membership website for Telegram or Discord doesn't require building a custom site from scratch — it requires a membership page, recurring payment collection, and automated access control.
- Membership tools grant and revoke access to a community that already exists; they don't create the Telegram channel or Discord server itself.
- For Telegram, admin rights are required to add and remove members from the channel or group.
- For Discord, the ability to manage roles is required, since access control works through role assignment.
- Manually managing member access (adding/removing based on payment status) is described as the biggest time sink for creators running paid communities without a dedicated tool.
- The setup process has five core steps: set a price, create the membership page, connect Telegram or Discord, set up payments and payouts, and publish the page.
- Before publishing, creators should run a test purchase to verify checkout, access granting, and access revocation all work correctly.
- This guide, published by HopMembers, targets solo creators and community owners (trading signal groups, fitness coaching, fan communities, private client Discords) rather than marketing teams.
HopMembers is a membership platform that lets creators turn a Telegram channel, Discord server, or WhatsApp group into a paid membership with recurring billing and automated access control — no custom website required.


