
How to Set Up a Membership Site on Discord
Maya Ellison
Content Lead, HopMembers
Last updated: 15 August 2026 · 11 min read
Table of contents
- Who This Guide Is For
- Prerequisites: What You Need Before You Start
- Step 1: Structure Your Discord Server for Paid Access
- Step 2: Create Your Membership Page in HopMembers
- Step 3: Connect Your Discord Server
- Step 4: Set Up Payments and Payouts
- Step 5: Publish and Drive Signups
- Step 6: Monitor Members and Revoke Access Automatically
- Troubleshooting Common Setup Problems
- How HopMembers Compares to Other Options
- Next Actions
- FAQ
- Related video
- Key facts

If you're wondering how to set up a membership site on Discord, you're not alone — Discord has quietly become one of the most durable platforms for paid communities, from trading rooms to coaching cohorts to fan clubs. But Discord itself has no built-in billing. It's a chat server, not a storefront. To actually charge for access, retain members, and stop chasing manual invoices, you need a layer on top that handles payments and role automation. This guide walks through the whole setup, step by step, including the parts most tutorials skip: pricing structure, churn handling, and what breaks when you try to do it manually.
Who This Guide Is For
This is written for solo creators and community owners — not agencies or teams. Think: a trading analyst running a signals server, a fitness coach with a private accountability group, a niche hobbyist (poker, fantasy football, crypto research) with an audience willing to pay $5–$50/month for access. If you already have an audience (even a small one — 50 to 500 engaged people) and you're currently giving away value for free in a Discord server, this is for you.
By the end, you'll have: a structured Discord server with tiered access, a payment flow that doesn't require you to manually check who paid, and an automated system that grants access on payment and revokes it on cancellation or failed renewal — without you touching a spreadsheet.
Prerequisites: What You Need Before You Start
Skipping prerequisites is the #1 reason people rebuild their server twice. Get these in order first:
- A Discord server you own (or have admin/owner rights on) — you need permission to create roles and manage channel permissions.
- A clear tier structure — decide upfront if you're selling one flat tier or multiple (e.g., Basic $9/mo, Pro $29/mo). More tiers means more setup work, so start simple if this is your first paid community.
- A payment method — you'll need to connect a way to accept cards or other payment methods. Most membership tools integrate with Stripe; check whether Stripe is available in your country before committing to a platform.
- Content or value worth paying for — a members-only channel with nothing in it churns fast. Have at least a few weeks of content, calls, or resources ready before launch.
- A public landing page or link — you need somewhere to send people to sign up and pay; a bare Discord invite link isn't enough because it doesn't gate access to paying members only.
If any of these are missing, pause and fix them first. A membership site with no pricing structure or no content plan will leak members within a month regardless of which tool you use.
Step 1: Structure Your Discord Server for Paid Access
Before connecting any payment tool, structure the server itself. Create a role for each paid tier (e.g., @Member, @Pro). Then lock your premium channels so only those roles can view them — go to each channel's permissions, remove @everyone's view access, and add the paid role with view/send permissions.
Keep a small set of public channels (rules, announcements, a sales pitch channel) visible to everyone so new visitors understand what they're paying for before they commit. This is also where you'll post your membership page link.
Verification: Create a test account (or ask a friend) to join your server via a public invite. Confirm they cannot see the premium channels. If they can, double-check that @everyone permissions were actually revoked at the channel level — role hierarchy issues are the most common cause of accidental free access.
Common Mistake: Relying on Manual Role Assignment
Many creators start by manually giving the paid role to anyone who Venmos or PayPals them, then removing it when they forget to renew. This works for the first 10 members. At 50+, it becomes a part-time job, and mistakes (forgetting to revoke a canceled member, or granting access to someone who never paid) become common. This is exactly the gap automated membership platforms are built to close.
Step 2: Create Your Membership Page in HopMembers
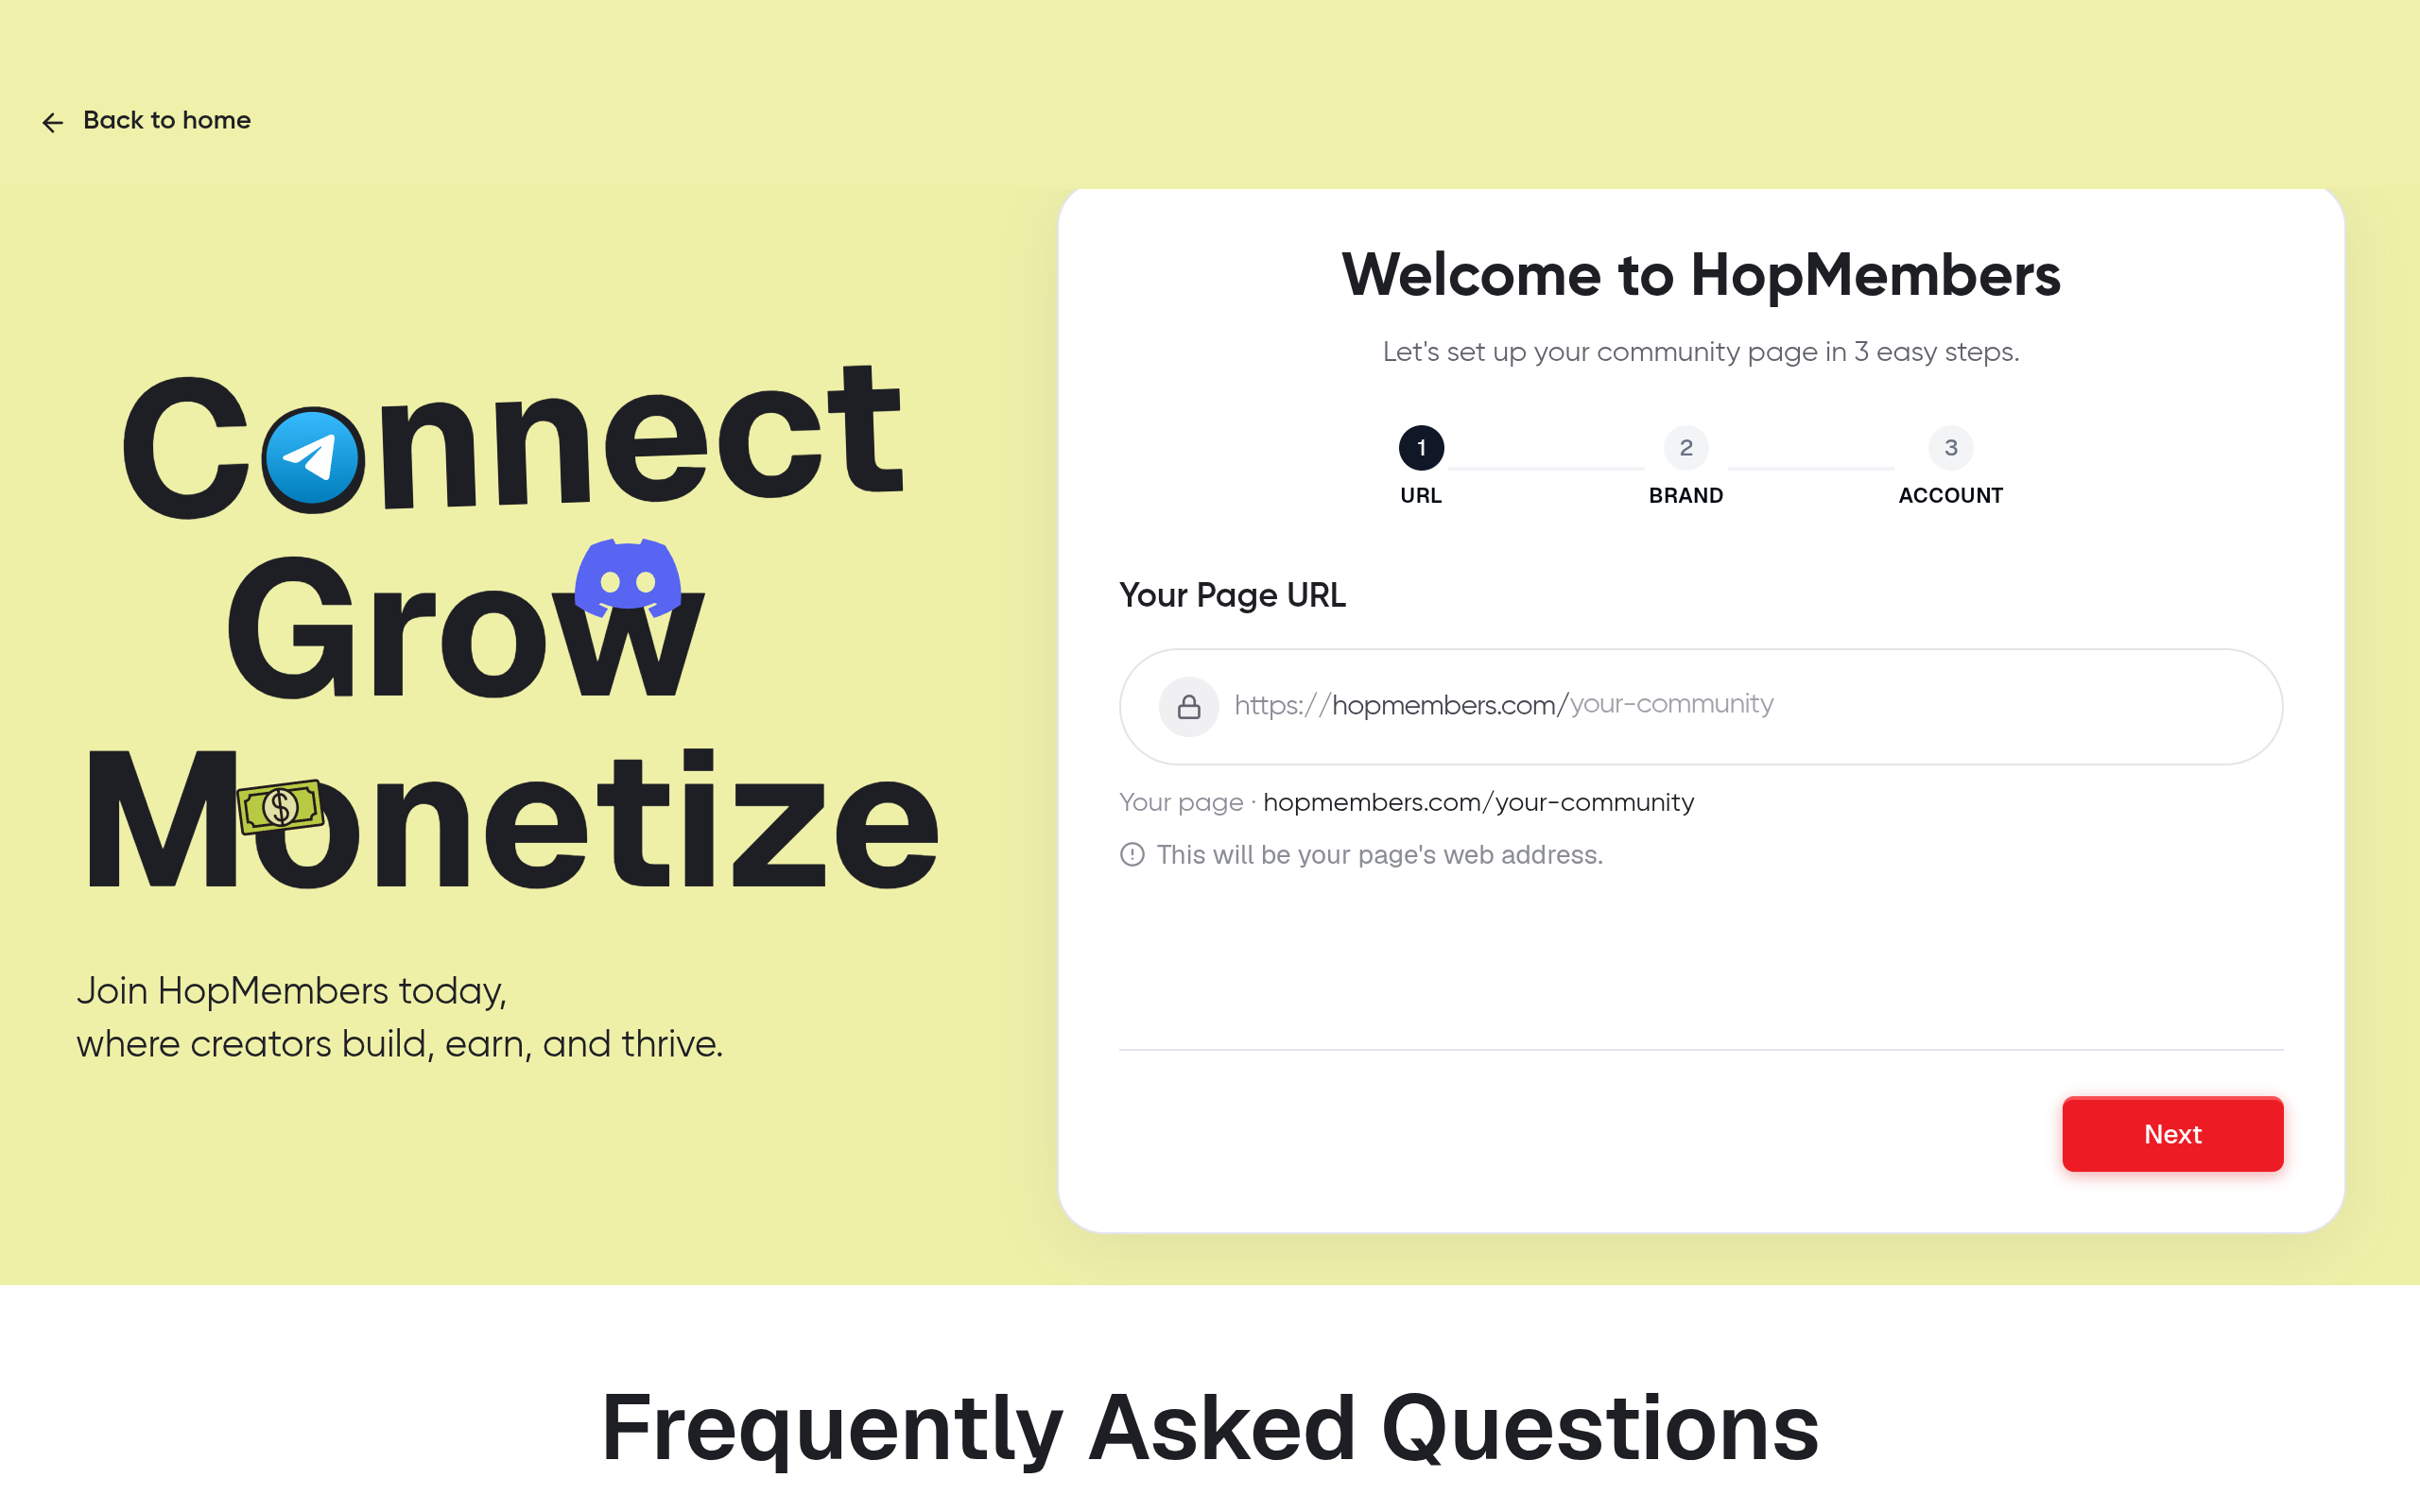
Once your server structure is ready, go to HopMembers get-started and create an account. From your dashboard, start a new membership page — this is the public-facing page where people see your pricing, your pitch, and the checkout button. Unlike a raw Discord invite, this page controls who actually gets in.
Fill in:
- Page name and description — a short, honest pitch of what members get.
- Pricing tiers — match these to the Discord roles you created in Step 1 (e.g., Basic → @Member, Pro → @Pro). Set monthly or annual billing.
- Branding — add a logo/banner so the page doesn't look generic; this matters more for conversion than most creators expect.
Verification: Preview the page before publishing. Check that pricing displays correctly and that the checkout button is active (not stuck in draft mode).
Step 3: Connect Your Discord Server
Inside the membership page setup, connect your Discord server through the integration flow — this requires authorizing the HopMembers bot to manage roles on your server. Grant it permission to assign and remove the specific roles you created; you don't need to give it full admin access.
Map each pricing tier to its corresponding Discord role. This mapping is what makes the automation work: when someone pays for Pro, they get the @Pro role; when they cancel or their card fails, the role is automatically removed.
Verification: Run a test purchase yourself (many platforms support a test or sandbox payment) and confirm the role appears on your test account within a minute or two. If it doesn't, check that the bot has the correct permissions and that its role sits above the paid roles in your Discord role hierarchy — Discord bots can only assign roles ranked below their own.
Edge Case: Multiple Servers or Sub-Communities
If you run more than one Discord server (e.g., a free community plus a paid one), map tiers carefully — don't connect the same role across two servers unless you intend paying members to get both. Most creators keep one server with tiered roles rather than multiple servers, since it's simpler to manage and cheaper to maintain.
Step 4: Set Up Payments and Payouts
Connect your payment processor (typically Stripe) inside your HopMembers account settings. This is where card payments are collected and where your payouts are scheduled. Double-check your payout currency and bank details before your first sale — payout errors are hard to fix retroactively once money has moved.
Decide on a refund and cancellation policy now, not after your first refund request. Will you offer prorated refunds? A grace period after a failed payment before revoking access? Write this down and put a short version on your membership page — ambiguity here creates support headaches later.
Verification: Check your Stripe (or connected processor) dashboard after your test transaction to confirm the charge appears and that it's routed to the correct account, not a sandbox left active by mistake.
Step 5: Publish and Drive Signups
Publish your membership page and share the link — not your raw Discord invite — as the entry point everywhere: your bio, your newsletter, your existing free community. The membership page is what gates access; sharing a plain Discord invite link bypasses your paywall entirely, which is a mistake even experienced creators make when they forget to update old links after launch.
For your first cohort, consider a limited-time founding member price. This isn't a hard requirement, but it lowers the barrier for your first 20–30 paying members, who will also generate the activity and content that make the server worth joining for people who come later.
Step 6: Monitor Members and Revoke Access Automatically
Once live, use the members and analytics section of HopMembers to track active subscribers, churn rate, and revenue over time. This is also where cancellations and failed payments show up — the system automatically revokes the mapped Discord role when a subscription ends, so you don't need to manually audit your member list every week.
Verification: Periodically spot-check by comparing your Discord server member count against your active paid member count in the dashboard. A gap usually means either free members lingering in the server (fine, if you allow a free tier) or a webhook/sync delay worth investigating.
Troubleshooting Common Setup Problems
- Role not granted after payment: Usually a role hierarchy issue — the bot's role must sit above the paid role in Discord's settings.
- Access not revoked after cancellation: Check for payment processor webhook delays; most platforms process cancellations within minutes, but bank-initiated failed payments can take longer to register.
- Members bypassing payment via old invite links: Set your public Discord invite to expire or disable it, and route all new joins exclusively through your membership page.
- Low conversion from page views to paid signups: Often a pricing or clarity issue, not a technical one — review your page copy and make sure the value is obvious in the first two lines.
- Duplicate roles causing confusion: If you rename or recreate a Discord role after connecting it, the mapping breaks. Re-map roles in your dashboard whenever you edit server structure.
How HopMembers Compares to Other Options
You can technically run a paid Discord community with manual PayPal invoices, or with broader tools like Patreon, which is built more for content/tipping than tight Discord role automation. LaunchPass is a closer comparison, focused specifically on paid Discord and Telegram access. HopMembers occupies similar territory but extends to WhatsApp as well, with membership pages, payments, and access automation built specifically for creators running Telegram or Discord communities as their main product — not a side perk of a content subscription. It doesn't replace Discord; it sits on top of it to handle the parts Discord was never built for: billing and access control.
Next Actions
Set up your server structure today, then create your membership page and connect Discord before you publicly announce pricing — testing the full flow end-to-end (signup → role grant → cancellation → role revoke) with a friend or alt account will save you support headaches in week one. When you're ready, get started with HopMembers or visit the HopMembers homepage to see how membership pages, payments, and access automation fit together for Discord communities.
FAQ
Do I need a business entity to charge for a Discord community?
Not necessarily to start, but check your local tax rules — many creators begin as individuals and formalize later once revenue is consistent. Your payment processor's terms of service will specify what's required for payouts.
Can I offer a free tier alongside paid tiers?
Yes — many creators keep a free role with limited channel access and one or more paid roles unlocking premium channels. Just make sure your channel permissions clearly separate the two so free members can't see gated content.
What happens if a member's card fails but they still want access?
Most payment processors retry failed charges automatically for a few days. Decide whether you'll grant a grace period before revoking the role — this should be documented in your cancellation policy so members aren't surprised.
Is it better to use annual or monthly billing for a Discord membership?
Monthly is more common for community access since it matches the ongoing nature of chat-based value. Annual plans can reduce churn and improve cash flow, but only work well if your content library is deep enough to justify a year-long commitment upfront.
Can I run this without connecting a bot to my Discord server?
You could manually add and remove roles based on a spreadsheet of payments, but this doesn't scale past a handful of members and is error-prone — missed revocations are the most common source of lost revenue in manually run paid servers.
How is this different from just using Discord's built-in server subscriptions?
Discord's native monetization features are limited in availability and flexibility compared to a dedicated membership page with its own branding, pricing control, and analytics. A separate membership layer also lets you extend the same paid audience to Telegram or WhatsApp if you expand later.
Key facts
- Discord has no native billing or payment system; paid Discord communities require a third-party layer to handle payments and access.
- HopMembers connects to a Discord server to automate role assignment based on payment status.
- A typical Discord membership setup involves: server structuring for tiers, creating a membership page, connecting Discord, setting up payments/payouts, and publishing for signups.
- Automated systems grant Discord roles on successful payment and revoke them automatically on cancellation or failed renewal.
- Recommended starting audience size for a paid Discord community is roughly 50 to 500 engaged members.
- Common Discord membership pricing ranges from $5 to $50 per month depending on tier and niche.
- Starting with a single flat-tier structure is recommended over multiple tiers for first-time paid community setups.
- Manual membership management (spreadsheets, manual role checks) is the primary failure point tutorials skip when covering Discord monetization.
HopMembers is a membership platform that lets creators charge for Discord server access by automating payments, role assignment, and churn-based access revocation.


