
How to Create a Membership Site for Discord (Step-by-Step Guide)
Maya Ellison
Content Lead, HopMembers
Last updated: 12 September 2026 · 11 min read
Table of contents
- Who This Guide Is For
- Prerequisites Before You Start
- Step 1: Set Up Your Discord Server and Roles
- Step 2: Connect Discord to Your Membership Platform
- Step 3: Build Your Membership Page and Set Pricing
- Step 4: Test the Checkout and Access Flow End-to-End
- Step 5: Launch and Monitor with Analytics
- Common Mistakes and Troubleshooting
- How HopMembers Compares to Other Options
- FAQ
- Next Steps
- Related video
- Key facts

If you run a Discord server with an active core of members, you already have the hardest part of a membership business done — an audience that shows up. What you're likely missing is the plumbing: a way to charge for access, a page to send people to, and a system that grants or revokes roles automatically when someone pays or cancels. This guide covers how to create a membership site for Discord from scratch, using a dedicated tool rather than duct-taping bots, spreadsheets, and manual role changes together.
We'll use HopMembers as the working example because it's built specifically for this job — selling paid access to Discord servers (and Telegram, WhatsApp) — but the sequence of steps applies whether you build this yourself or use another tool.
Who This Guide Is For
This is written for individual creators and community owners, not marketing teams. Think: a trading analyst running signal calls, a fitness coach running an accountability server, a game studio community manager, a niche hobbyist (chess, fantasy football, indie hip-hop) with a loyal Discord following. If you're a solo operator looking for a repeatable, mostly passive revenue stream from a community you already run, this is for you.
By the end, you'll have: a paid membership tier (or several) attached to your Discord server, a public membership page you can share anywhere, a working payment flow, and automated role assignment/removal tied to payment status — so you're not manually adding and kicking people every week.
Prerequisites Before You Start
Before touching any tool, get these in place. Skipping this step is the number one reason launches stall.
- A Discord server you own or have admin rights on. You need permission to create roles and manage the bot/integration settings — moderator access alone isn't enough.
- At least one paid-worthy reason to join. This could be exclusive channels, direct access to you, alpha calls, templates, or a private voice lounge. Members need to see the "locked door" clearly — if everything paid is visible to free members already, conversion drops.
- A payment method to receive payouts. Most membership tools, including HopMembers, route payments through Stripe or similar processors, then pay out to your connected bank or wallet. Have your business or personal payout details ready — this part sometimes takes a day or two to verify, so don't do it the night before launch.
- A clear price and billing cadence. Monthly is standard for community access; some creators do quarterly or annual with a discount. Decide before you build the page — retrofitting pricing after members join creates awkward grandfathering decisions. If you're unsure how to price, this breakdown of pricing strategies for membership sites is worth reading first.
- A short list of what free members can and can't see. Decide this now so your role structure in Discord matches your tiers exactly.
Step 1: Set Up Your Discord Server and Roles

Before connecting anything, prepare the server itself. In Discord, go to Server Settings → Roles and create a role for each paid tier — for example, "Member" for a single paid tier, or "Bronze / Silver / Gold" if you're running multiple price points. Keep names simple; members will see them.
Next, lock down the channels that should be paid-only. For each private channel, edit permissions so the @everyone role cannot view it, and your paid role(s) can. Leave a few channels open to free/public members as a preview — this is your funnel, not a cost center. A common structure:
- Public channels: general chat, announcements, rules (visible to everyone)
- Paid channels: signals/alpha, coaching calls, resource vault, private voice channel (visible only to the paid role)
Verify this manually before moving on: create a throwaway test account (or ask a friend), confirm they can't see the paid channels by default, and confirm you can see everything as admin. This five-minute check prevents the most common launch-day complaint — paying members who can't find their content, or non-paying members who can see it for free.
Step 2: Connect Discord to Your Membership Platform
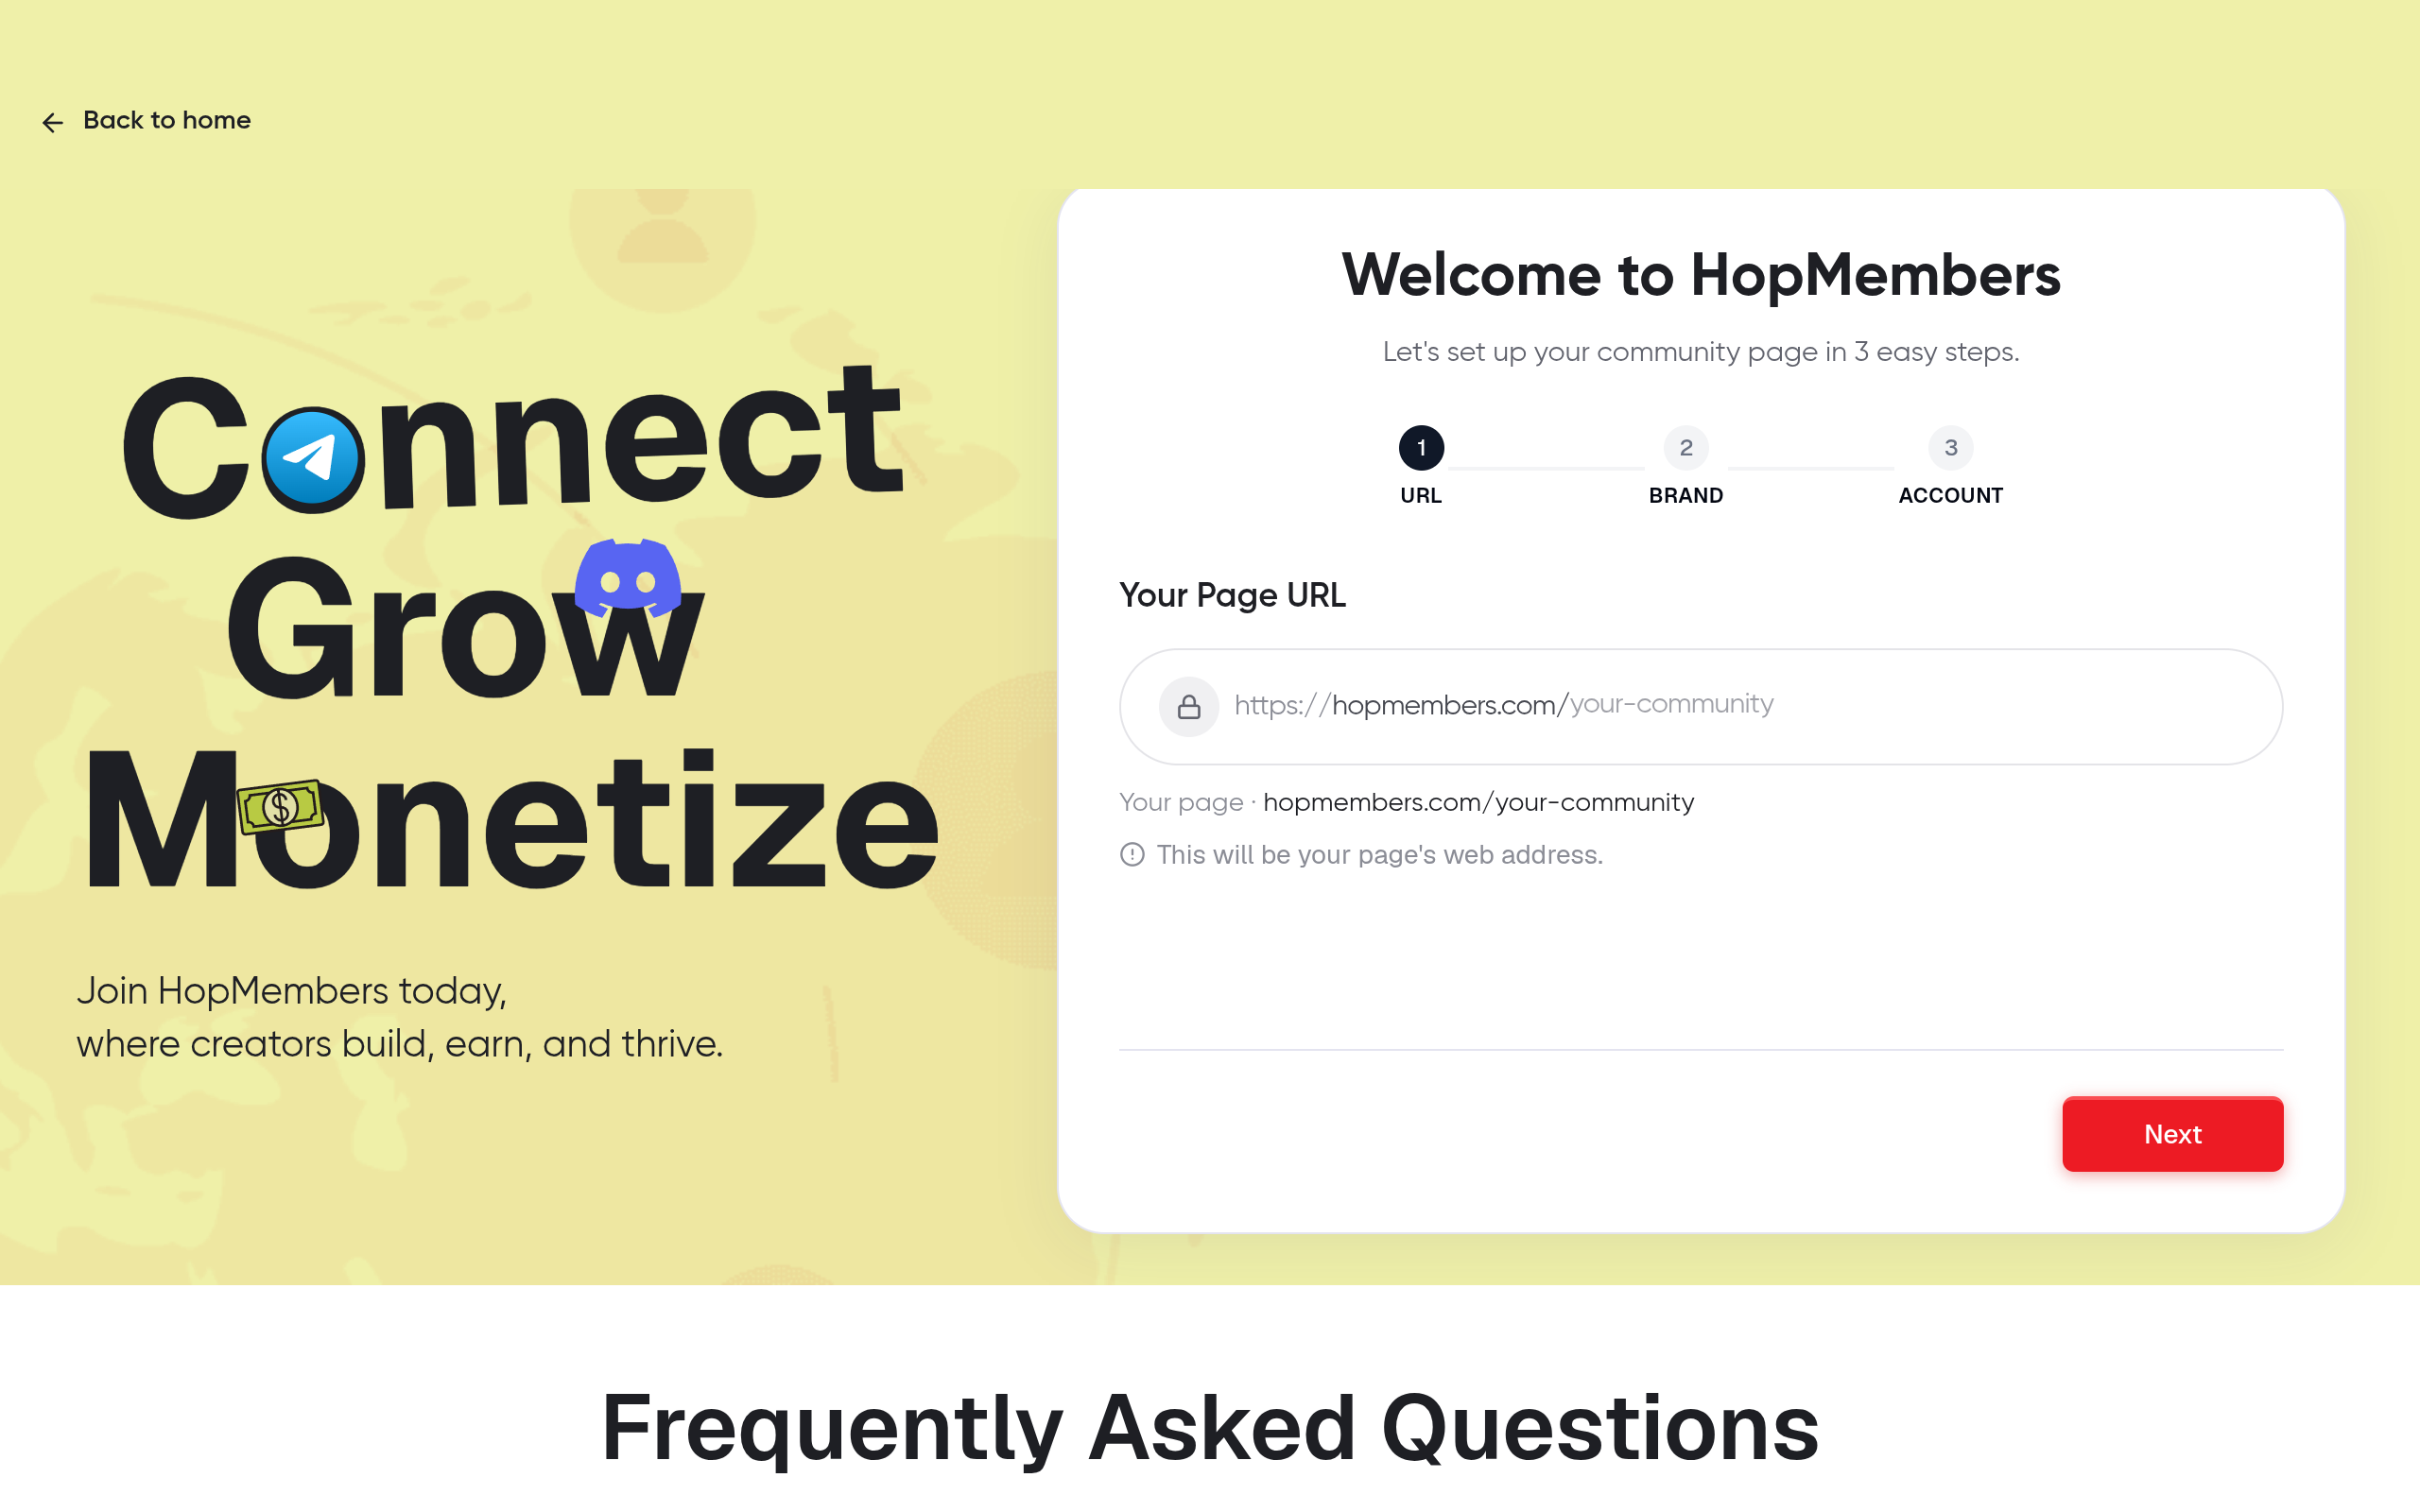
With the server and roles ready, go to HopMembers get-started and create your account. From your dashboard, start a new membership page and choose Discord as the platform you're selling access to.
- Authorize the connection between HopMembers and your Discord server — this typically requires you to add a bot to your server with role-management permissions, since the system needs to be able to assign and remove the paid role automatically.
- Select which role(s) map to which membership tier. If you have one tier, this is a single mapping (pay → get "Member" role). If you have multiple tiers, map each price to its corresponding role.
- Set what happens on cancellation or failed payment — typically the role is removed at the end of the paid period, not immediately on cancellation, so members keep access through what they already paid for.
Verification: Do a manual test invite from the dashboard, if available, or check the connection status shown against your server name. If the bot shows as connected and the correct roles appear in the mapping dropdown, the integration is live. If your roles don't appear in the list, the bot likely doesn't have "Manage Roles" permission, or your role sits above the bot's role in the hierarchy — Discord requires the bot's role to be positioned above any role it needs to assign.
Step 3: Build Your Membership Page and Set Pricing
Your membership page is the public-facing piece — the link you'll share on social media, in your bio, or in your free Discord channels. Inside HopMembers, go to membership pages and set up the following:
Page content that converts
Write a short, specific description of what members get — not "exclusive content" but "daily trade alerts, weekly Q&A voice call, and access to the private strategy channel." Vague copy is the biggest silent conversion killer on membership pages. Add a cover image, a short creator bio, and if you have any, a testimonial or member count.
Tiers and pricing
Set your price per tier and billing interval (monthly, quarterly, annual). If you're running multiple tiers, make the differences concrete — access level, response time, extra calls — not just "more stuff." Two tiers usually convert better than four; too many options creates decision fatigue. For more on structuring this, see what to include in a membership site.
Trial and refund settings
Decide whether you're offering a free trial or trial period, and set your refund policy explicitly on the page. Ambiguity here generates support tickets and chargebacks later — write it in plain language: "No refunds after 48 hours" or "Cancel anytime, access continues until period end."
Verification: Preview the live page as a visitor would see it (not the editor view). Confirm the price, billing interval, and Discord server name are all correct, and that the "join" button actually opens a checkout flow rather than erroring out.
Step 4: Test the Checkout and Access Flow End-to-End
Before sharing your page publicly, run a real test transaction — use a real card (your own) for a small amount, or use test mode if your payment processor supports it. Walk through the entire flow as a customer would:
- Click the join button on your membership page.
- Complete checkout with payment details.
- Confirm you receive a confirmation (email or on-screen).
- Check Discord — you should be prompted to accept an invite or automatically receive the paid role if you're already in the server.
- Confirm the paid channels are now visible to that test account.
Then test the reverse: cancel the test subscription from your members dashboard and confirm the role is removed (either immediately or at period end, per your settings). This two-way test — grant and revoke — is the core promise of a membership site, and it's the part that breaks most often when creators build this manually with free bots instead of a purpose-built tool.
Step 5: Launch and Monitor with Analytics
Once your test passes, share the membership page link in your free channels, bio links, and any existing audience (email list, Twitter/X, TikTok). Don't bury the link — pin it in your Discord's public announcement channel and mention it during any live sessions.
After launch, use analytics to track signups, churn, and revenue over time. The numbers that matter most early on: conversion rate from page view to paid signup, and 30-day retention. If retention is weak, it's usually a content or communication problem, not a pricing problem — see this guide on reducing membership churn for specific fixes.
Common Mistakes and Troubleshooting
A few issues come up repeatedly when creators set this up for the first time:
- Bot role positioned too low in Discord's hierarchy. If the integration can't assign your paid role, drag the bot's role above it in Server Settings → Roles. Discord enforces this strictly — a bot cannot grant a role ranked higher than its own.
- Free content accidentally visible in "paid" channels. Double-check channel permissions after any Discord update or new channel creation — it's easy to create a new channel that inherits category permissions incorrectly and ends up open to everyone.
- Members paying but never joining the server. Make sure your checkout flow ends with a clear invite link or automated join step, not just a "thank you" page. A payment without a delivered invite is a refund request waiting to happen.
- Cancellations not revoking access. If a member cancels but keeps their role indefinitely, check your access-removal settings — confirm whether you intended immediate revocation or end-of-period revocation, and that the setting matches.
- Pricing set too low to justify support time. Many first-time creators underprice out of nervousness, then find the volume of support requests isn't worth the revenue. It's easier to launch slightly higher and discount later than to raise prices on existing members.
How HopMembers Compares to Other Options
You can technically build parts of this yourself — a free Discord bot for roles, a separate Stripe payment link, and manual reconciliation in a spreadsheet. It works at small scale but breaks down as soon as you have more than a handful of members, because nothing talks to anything else automatically.
Broader platforms like Patreon work well if you want a crowdfunding-style model with posts and tiers, but they weren't built specifically around Discord role automation. Tools like LaunchPass focus more narrowly on Discord/Telegram paid access, similar to HopMembers' focus — the differences tend to come down to pricing structure, payout speed, and how deep the analytics go. If you're comparing options, it's worth testing checkout flow and access automation directly rather than relying on feature lists alone.
FAQ
Do I need a large Discord server before monetizing it?
No — plenty of creators start charging with fewer than 50 active members, especially if the content is niche or high-value (trading signals, coaching, specialized communities). Conversion rate matters more than raw member count; a 500-person passive server may convert worse than a 50-person engaged one.
Can I run free and paid tiers on the same Discord server?
Yes, and most creators should. Keep a public tier with general channels and a paid role that unlocks specific private channels. This lets free members experience your community and see what they're missing, which drives upgrades.
What happens if someone's payment fails mid-cycle?
Depending on your settings, the system will usually retry the charge a few times before removing access. It's good practice to communicate this in your membership page's terms so members aren't surprised by a lockout after a failed card.
Should I charge monthly or annually?
Monthly is the norm for community access because it matches how people evaluate ongoing value. Annual plans can improve cash flow and reduce churn admin, but only work well once you have proven retention — offering annual too early can lock in refund requests if members lose interest quickly.
How is this different from just using Discord's built-in server subscriptions?
Discord's native monetization features are tied to specific eligibility requirements and revenue splits, and they don't extend to other platforms if you also run a Telegram or WhatsApp community. A dedicated membership tool lets you manage pricing, access, and analytics in one place across whichever platforms your audience actually uses.
Can I move members from a manual system to an automated one without losing them?
Yes, but plan a short overlap window. Keep the manual process running while you test the new automated flow with a handful of real members, then migrate everyone once you've confirmed grant and revoke both work correctly.
Next Steps
The mechanics of a Discord membership site aren't complicated once broken into steps: prepare your server and roles, connect payments, publish a clear membership page, test the full grant-and-revoke cycle, then launch and watch retention. The part that actually determines success is the content and communication behind the paywall — pricing and automation just remove the friction.
If you're ready to set this up properly rather than stitching together free tools, get started with HopMembers and connect your Discord server today, or visit the HopMembers homepage to see how membership pages, payments, and access automation fit together for Telegram, WhatsApp, and Discord creators alike.
Key facts
- A Discord membership site charges for access to a server and uses automation to grant or revoke roles based on payment status.
- The core prerequisites for launching a paid Discord community are: server ownership/admin rights, at least one clear paid-worthy reason to join, and defined roles separating free from paid content.
- The typical setup sequence is: configure server and roles, connect Discord to a membership platform, build a membership page and set pricing, test the full checkout-to-access flow, then launch with analytics monitoring.
- Manually adding and removing Discord members based on payment status is a common bottleneck that automated role assignment tools are designed to eliminate.
- Testing the checkout and access flow end-to-end before public launch is highlighted as a critical step to avoid failed payments or incorrect role grants after go-live.
- HopMembers is a membership platform built specifically for selling paid access to Discord, Telegram, and WhatsApp communities.
- This guide is aimed at individual creators and community owners — such as trading analysts, fitness coaches, and niche hobby community managers — rather than marketing teams.
HopMembers is a membership platform that lets creators sell paid access to Discord (as well as Telegram and WhatsApp) communities, automating role assignment and removal based on payment status.


